Transform Your Space: Tips and Tricks for Expertly Painting Trim in Your Home
When it comes to redesigning a room or giving your home a fresh new look, painting the trim is often an overlooked yet significant aspect of the process. The trim, which includes baseboards, crown molding, window and door casings, and other decorative elements, can make all the difference in the overall appearance of your space. In this blog, we will share essential tips and tricks for expertly painting the trim in your home, ensuring professional and long-lasting results.
1. Choose the Right Paint
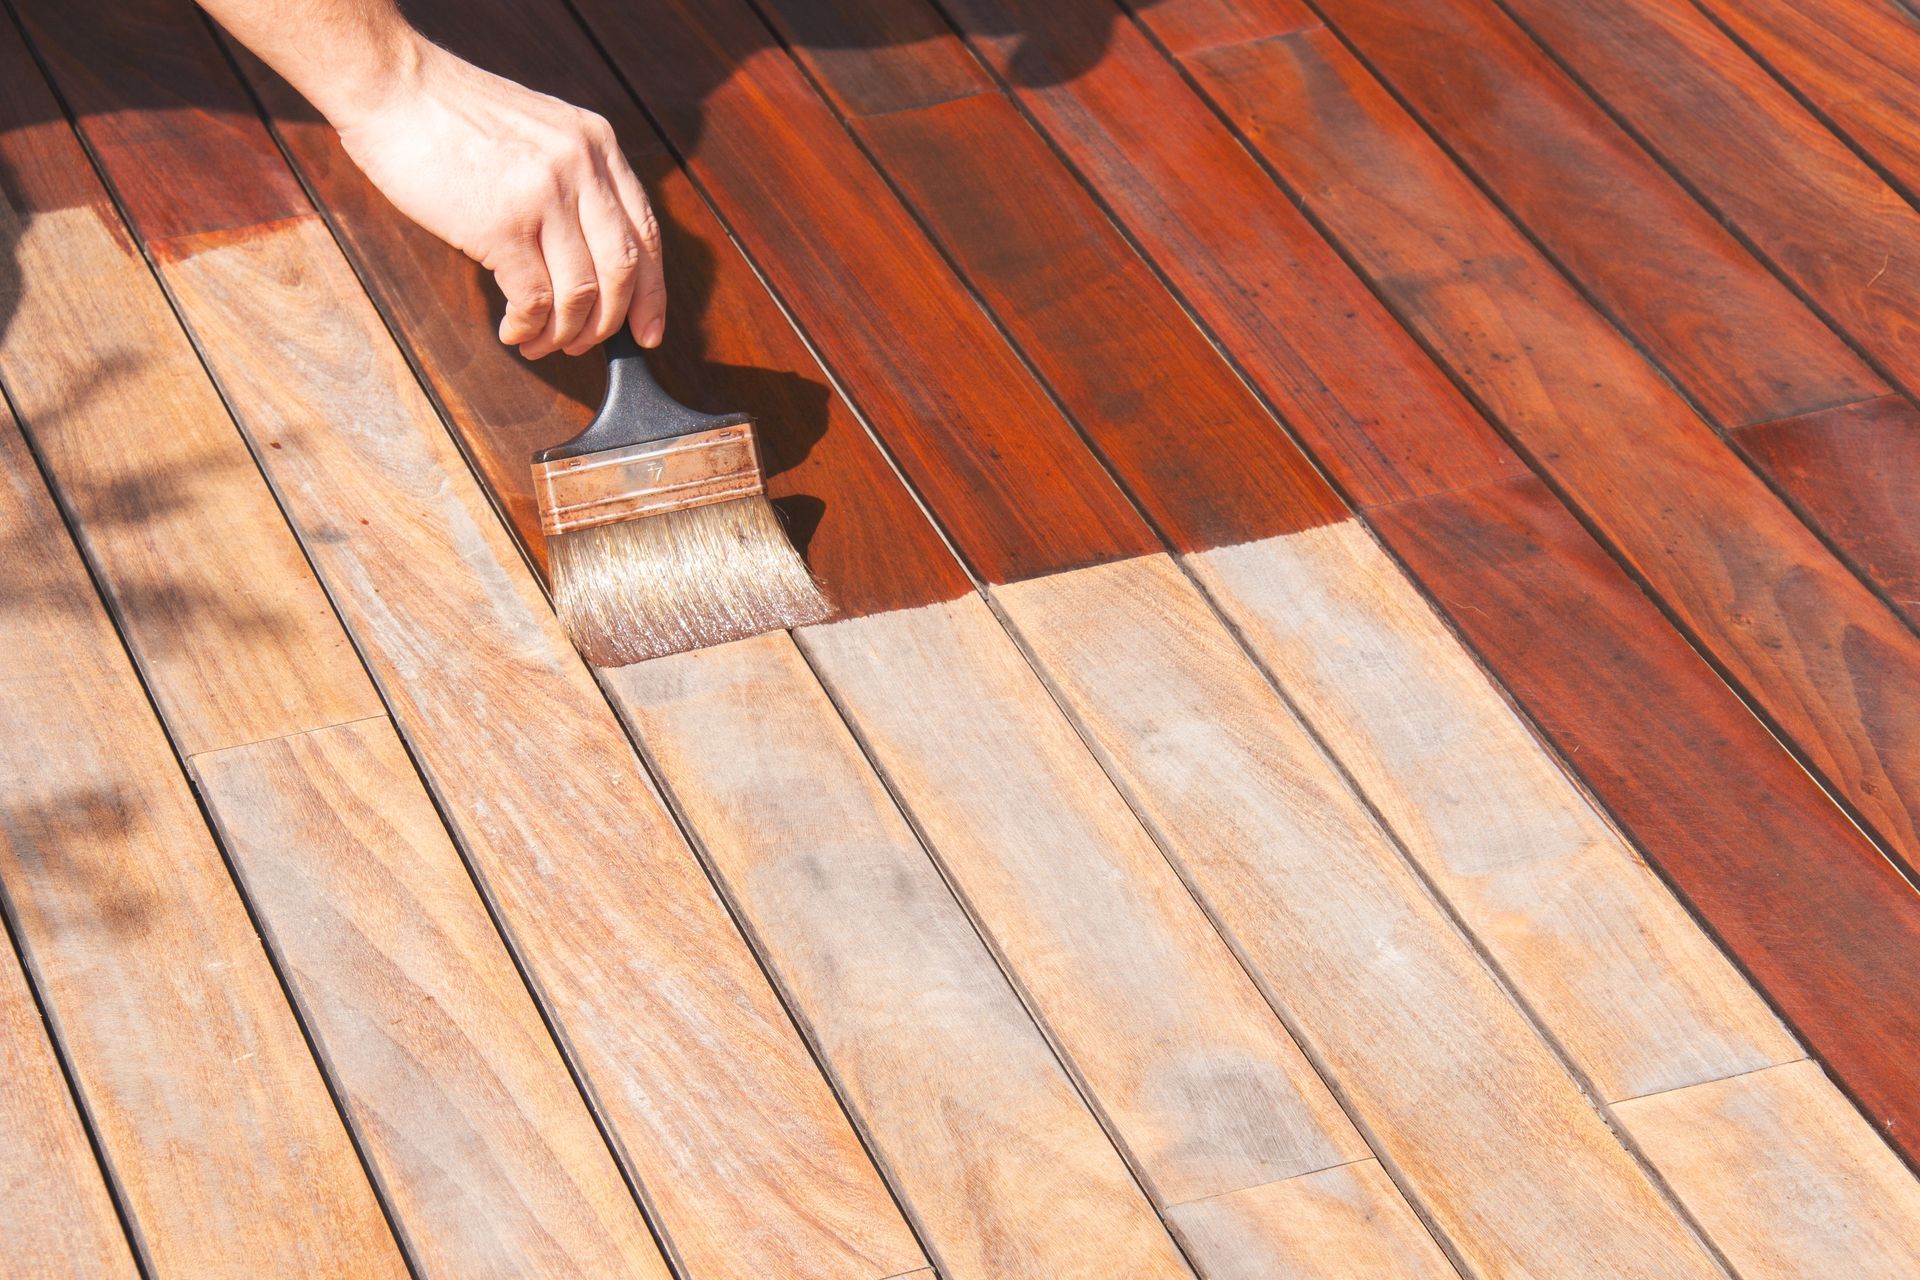
Before you begin, it's essential to choose the right type of paint for your trim. A semi-gloss or high-gloss paint is an excellent choice for trim, as it is more durable and easier to clean than flat or matte finishes. Opt for a latex-based paint, which is quick-drying, environmentally-friendly, and provides a smooth finish.
2. Prepare the Surface
Preparation is key when it comes to achieving professional-looking results. Start by removing any dirt, dust, and grease from the trim - a damp cloth or sponge should do the trick. Next, repair any damaged areas by filling in holes, cracks, or scratches with wood filler or vinyl spackle. Once the repairs have dried, sand the surface with fine-grit sandpaper (180-220 grit) to ensure that the paint adheres smoothly and evenly. Don't forget to wipe away any sanding dust before moving on to the next step.
3. Protect Your Surroundings
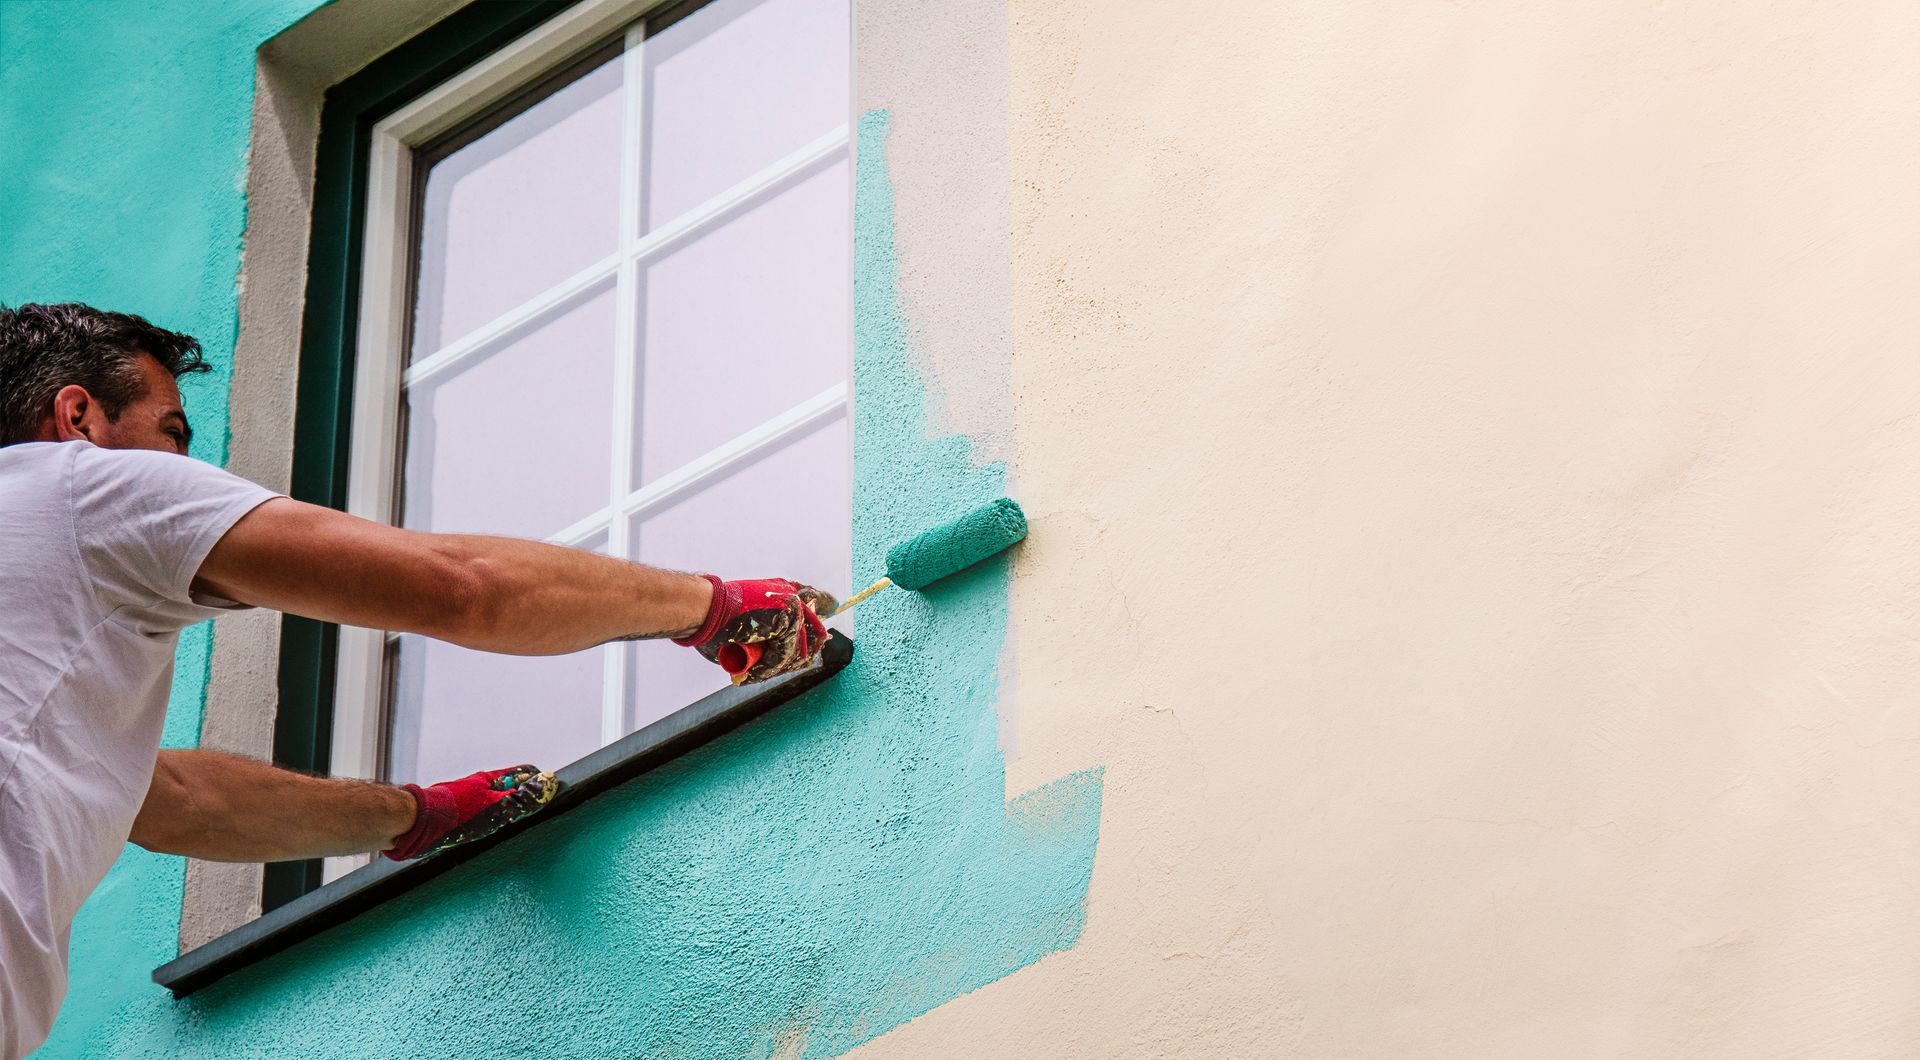
To prevent paint from getting on nearby surfaces, use painter's tape to mask off the areas around the trim. Ensure the tape is securely pressed against the wall to prevent paint from seeping underneath. Don't forget to cover your floors with drop cloths to safeguard against potential paint spills and splatters.
4. Prime the Surface
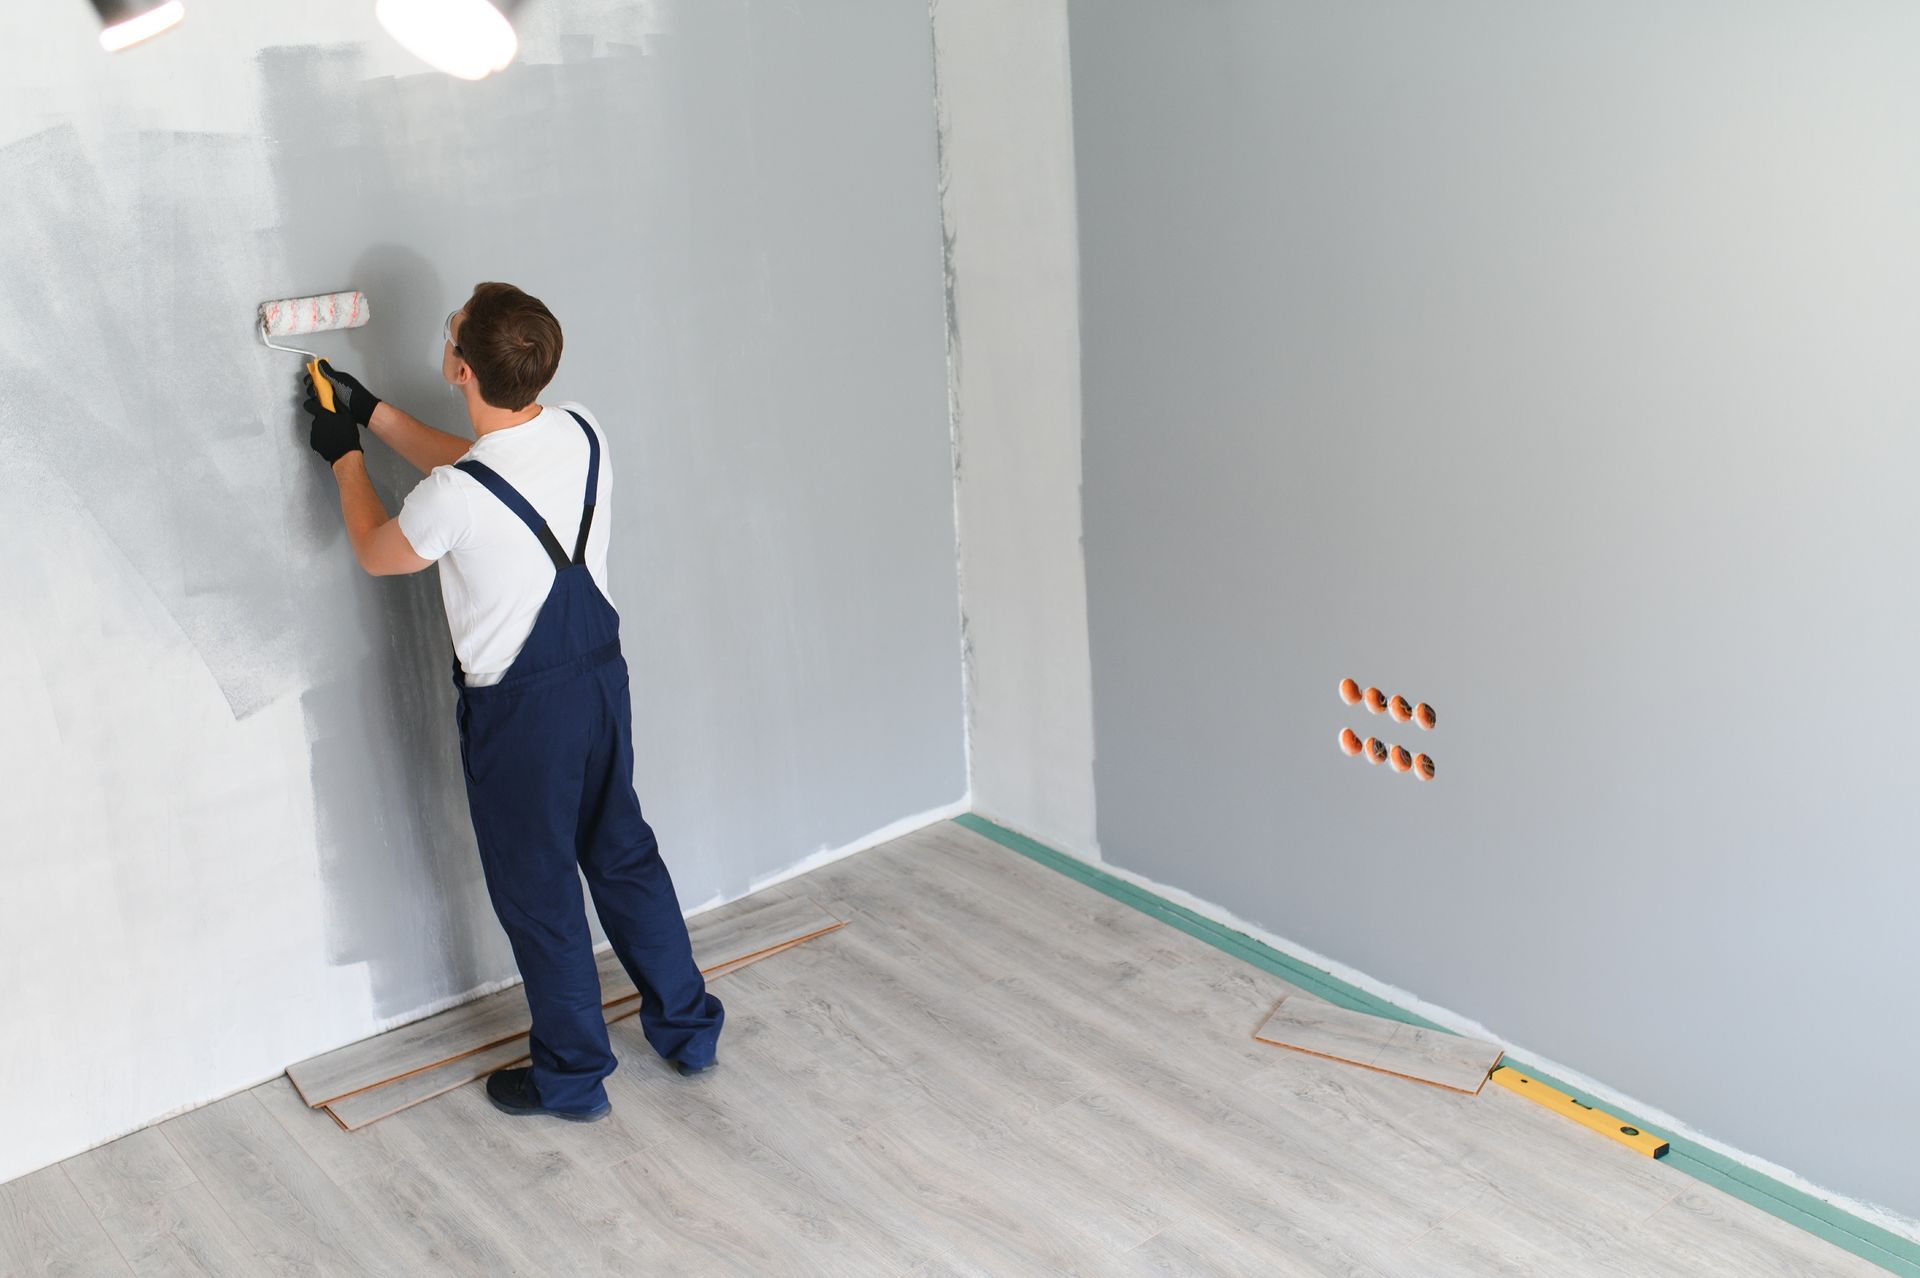
Priming is a crucial step in painting trim, as it helps to create an even, uniform finish and improves paint adhesion. Choose a primer specifically designed for use on trim and apply it using a high-quality brush designed for latex paints. Allow the primer to dry according to the manufacturer's instructions before moving on to the paint.
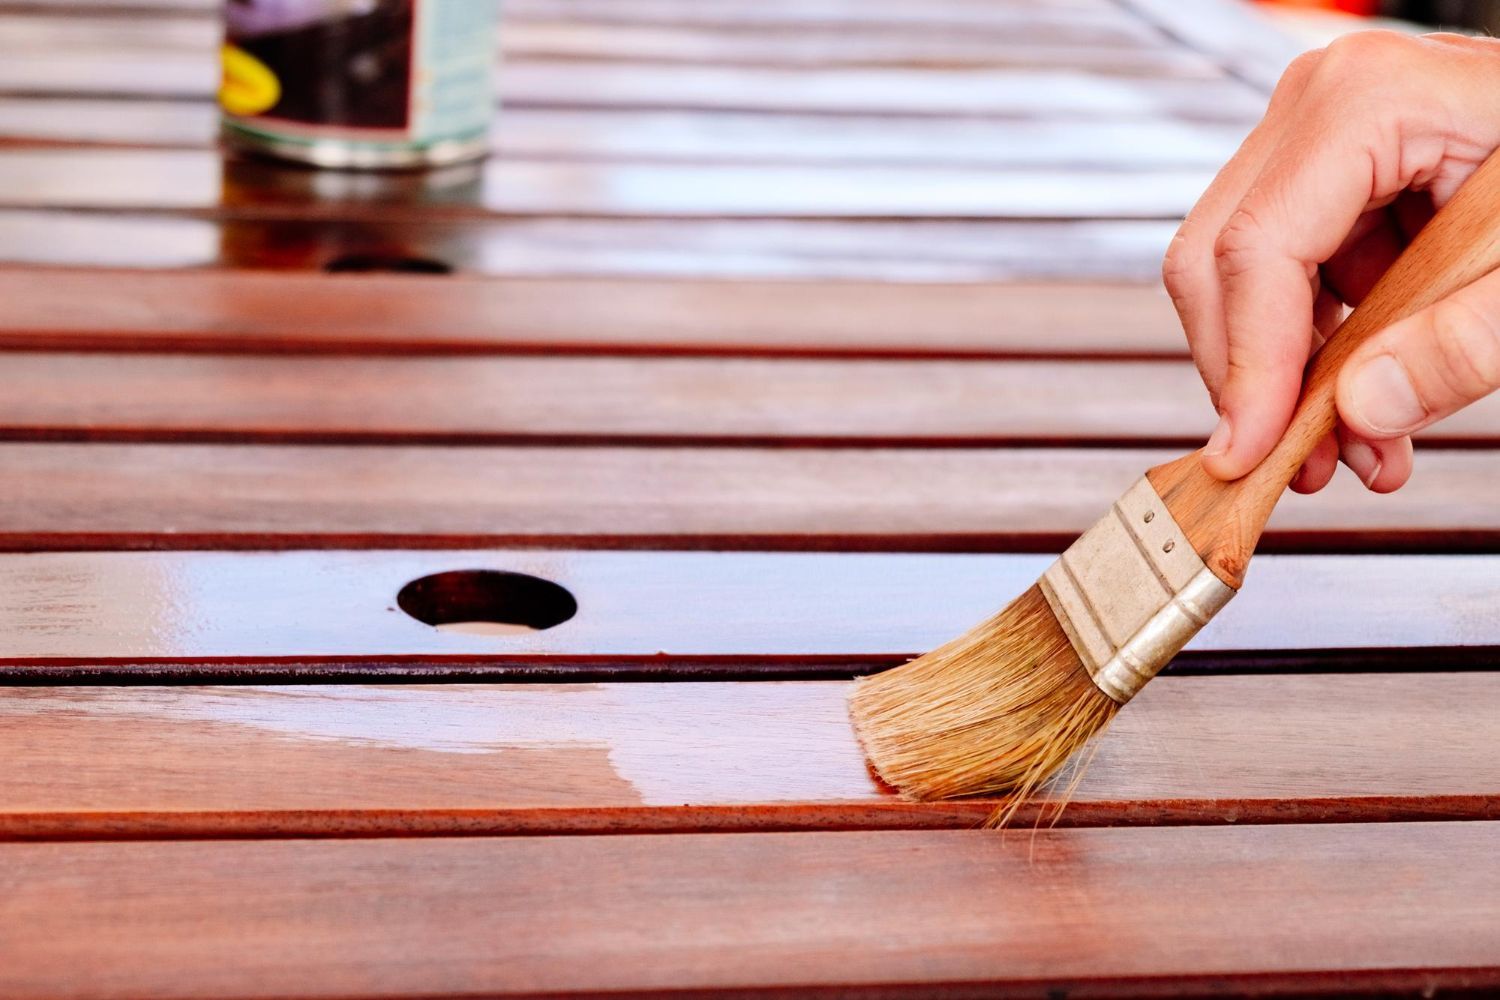
5. Choose the Right Brush
For the best results, use a high-quality, angled sash brush when painting trim. These brushes are designed to provide precision and control, allowing you to achieve a smooth, even finish. Synthetic bristle brushes are ideal for latex-based paints, while natural bristle brushes are better suited for oil-based paints.
6. Paint with Precision
Start by applying a thin coat of paint to the trim, using long, even strokes in the direction of the wood grain. Hold the brush at a slight angle, with the longer bristles facing the edge of the trim, for better control and accuracy. Avoid loading too much paint onto the brush, as this can lead to drips and an uneven finish. To achieve the best results, apply multiple thin coats of paint, allowing each coat to dry thoroughly before moving on to the next one.
7. Remove the Tape
Once the final coat of paint is dry, carefully remove the painter's tape by slowly pulling it off at a 45-degree angle. If you notice any paint bleeds or imperfections, touch up these areas with a small brush and your wall paint.
By following these tips and tricks, you'll be well on your way to expertly painting the trim in your home and transforming your space with a fresh, updated look. Remember, patience and attention to detail are key when it comes to achieving professional and long-lasting results.
Ready to take your home's interior design to the next level?
At Jacobsen Brothers Painting, we provide high-quality painting services to help you create your dream space. Contact us today for a free consultation and let our experienced team bring your vision to life.
Share This Blog