The Step-By-Step Guide to Paint Touch-Ups
Jacobsen Brothers Painting • June 3, 2021
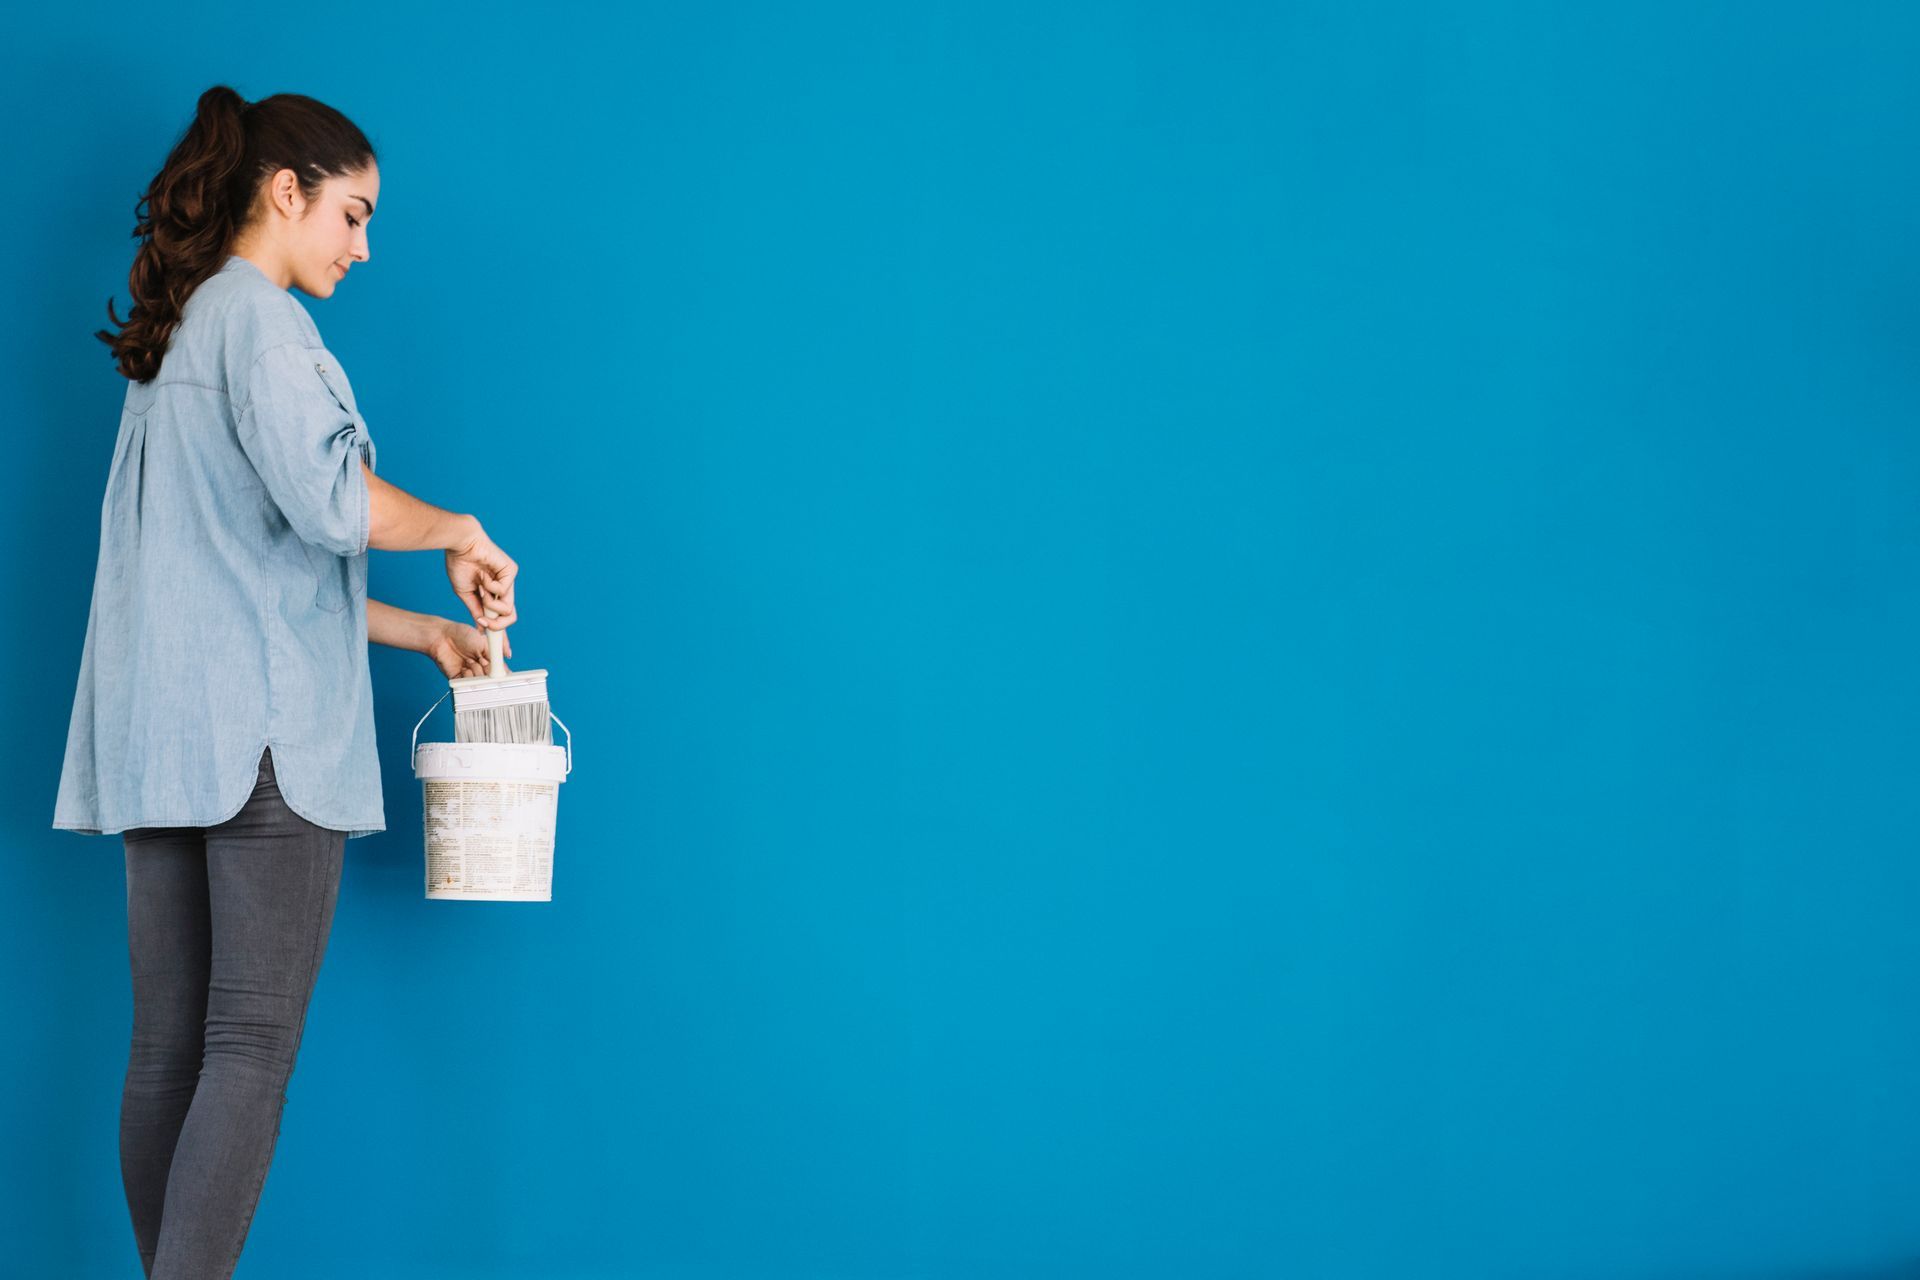
The paint on your walls, doors, and other household fixtures will inevitably scuff and degrade over time. Children, pets, and general wear and tear in these high-traffic areas cause paint to fade.
As long as the scuffs are few and far between, fixing imperfections on your walls or trim doesn’t mean a new paint job. If you have a free afternoon, paint touch-ups are doable in no time at all.
Of course, if your wall is in poor condition or there are multiple areas in your home that require a touch-up, it’s worth your time to grab an estimate from a qualified
painting company
!
Keep reading for a step-by-step DIY guide to paint touch-ups. Our expert painting tips will cover the basics and arm you with a few painting techniques to make the process easy for you.
Clean the Area
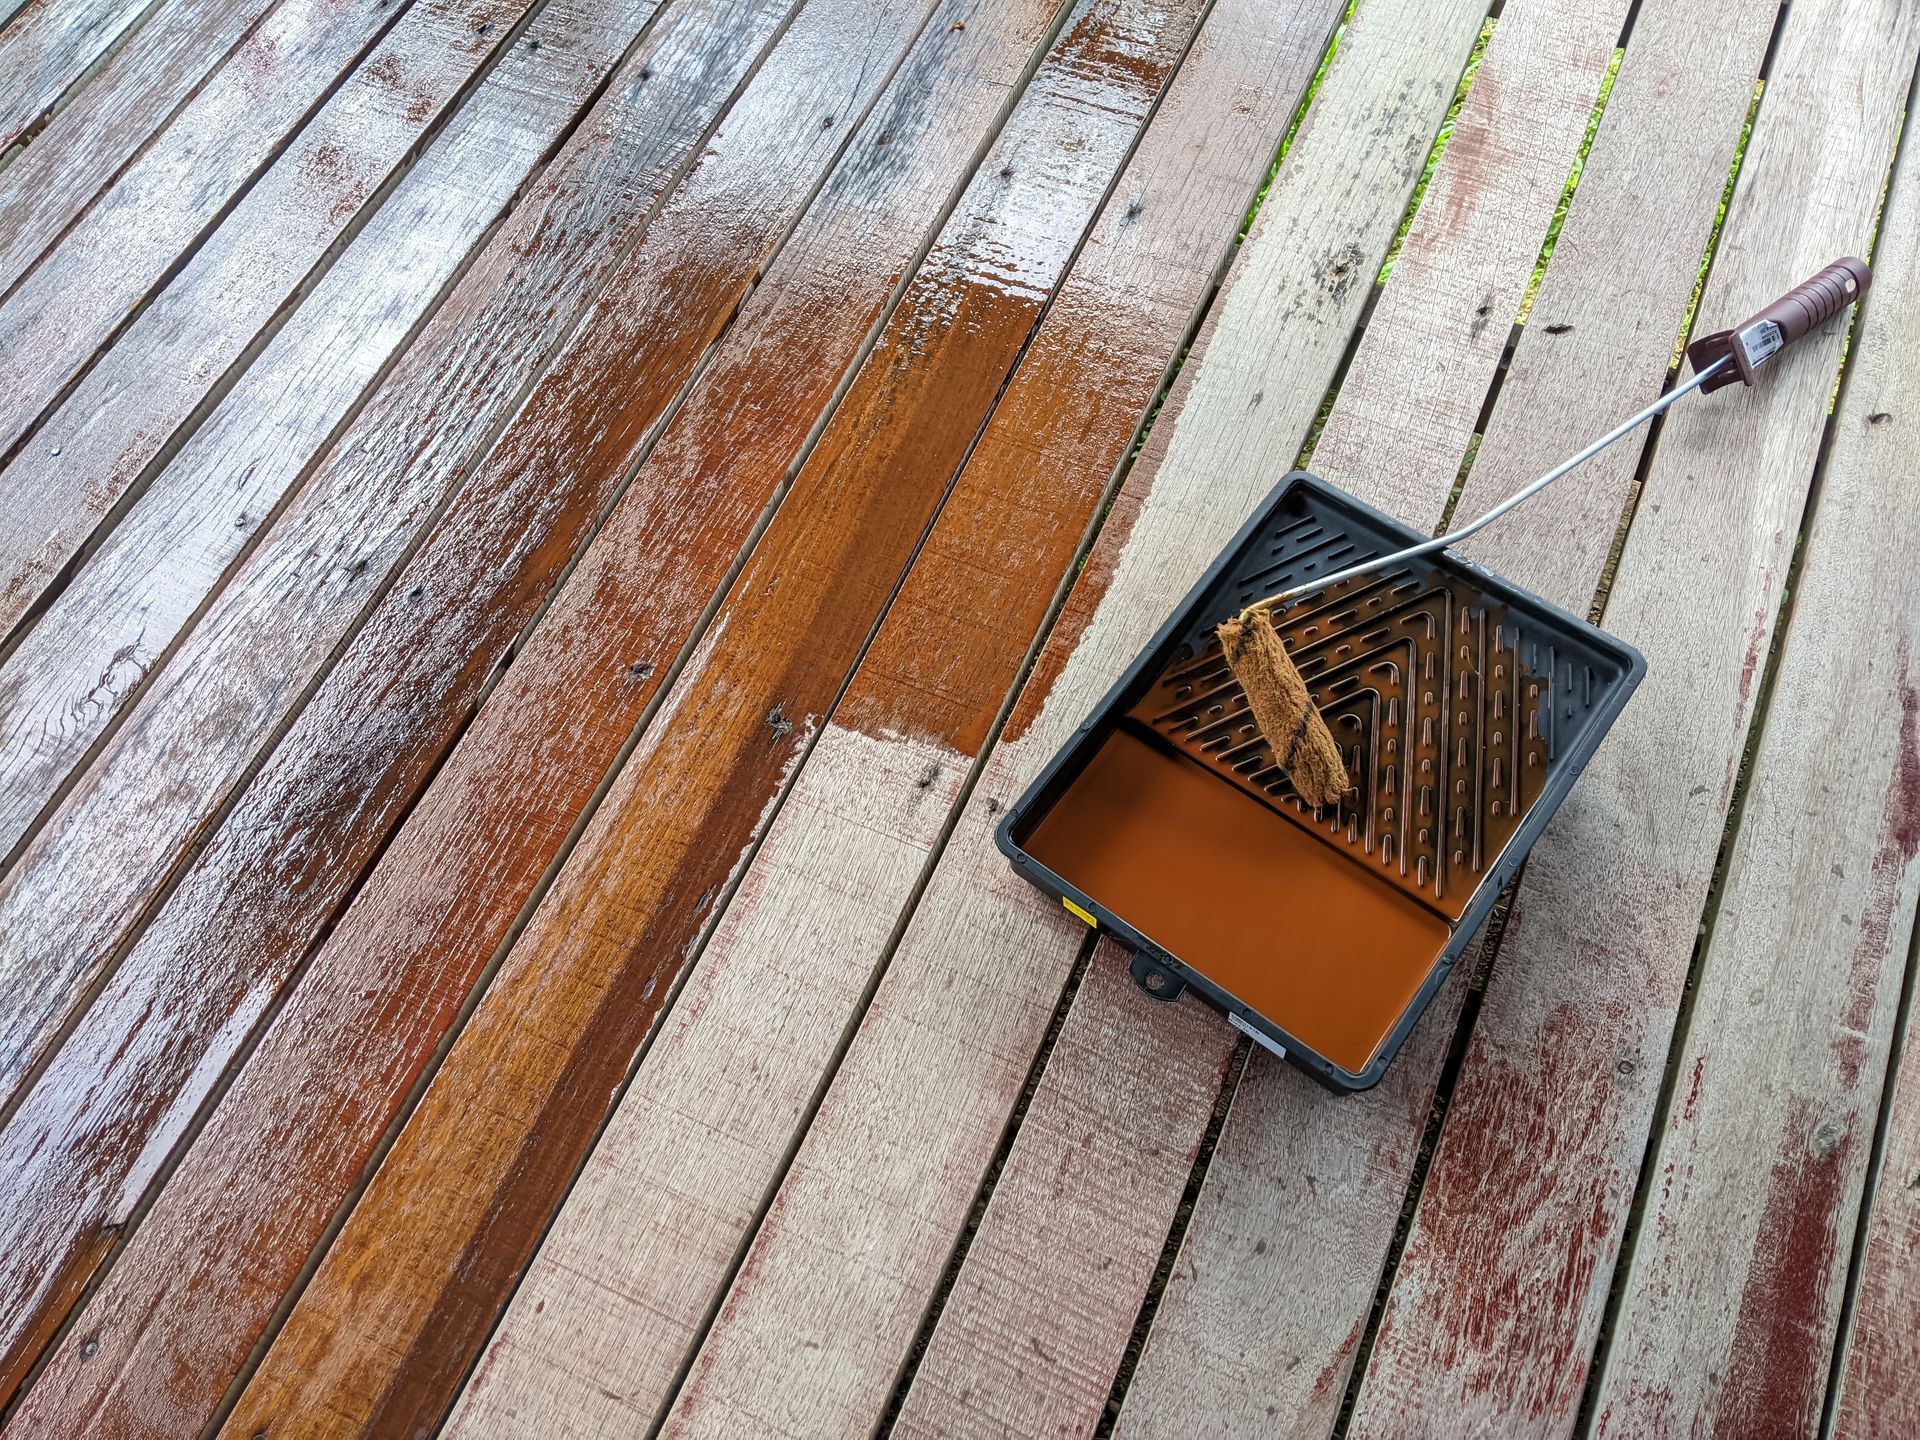
Smudges from sticky fingers and dirty paws are par for the course in an active household, but this buildup will prevent paint from properly adhering to your wall.
Clean the area you’d like to touch up with a sponge and soapy water. Dry the damp area thoroughly before applying any paint.
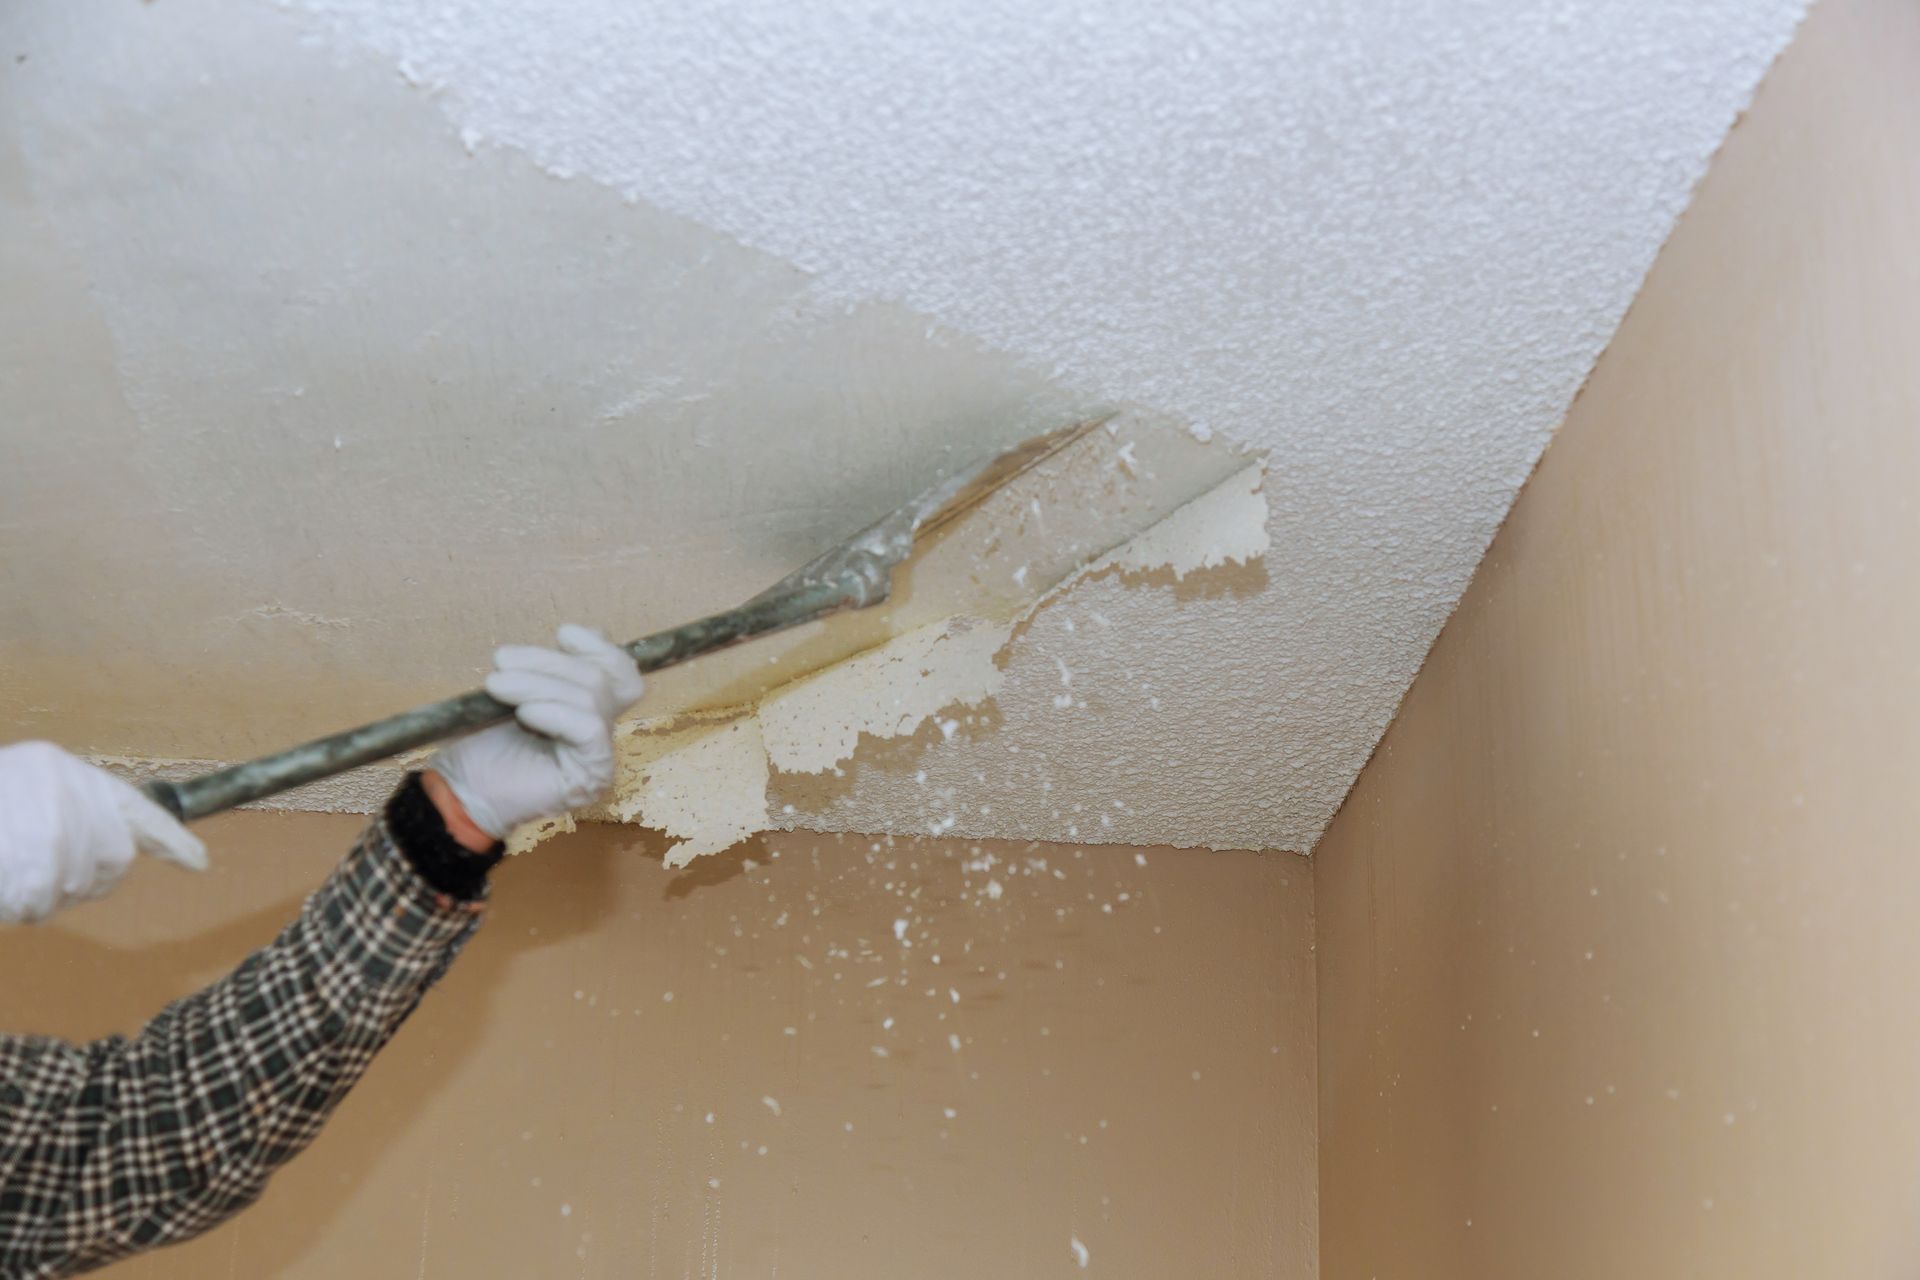
Repair the Area
If you have a damaged area that needs a paint touch-up, closely examine it to see if there are scratches, divots, or other textural imperfections. If these are not addressed before painting the area, they will be visible underneath the new paint job.
It might be necessary to use a spackling compound to repair scratches or dents. It’s affordable and usually readily available at most home hardware stores. Grab a putty knife as well for application if you don’t have one already.
The spackling should not poke out from the wall or have any textural differences. When finished, remove any excess material with your knife and then wipe the area with a damp cloth. Let it dry for at least a few hours, or follow the application instructions on the packaging.
Provided that you don’t need any touching up, lightly sand the spackling when dry and wipe away any dust with a damp cloth.
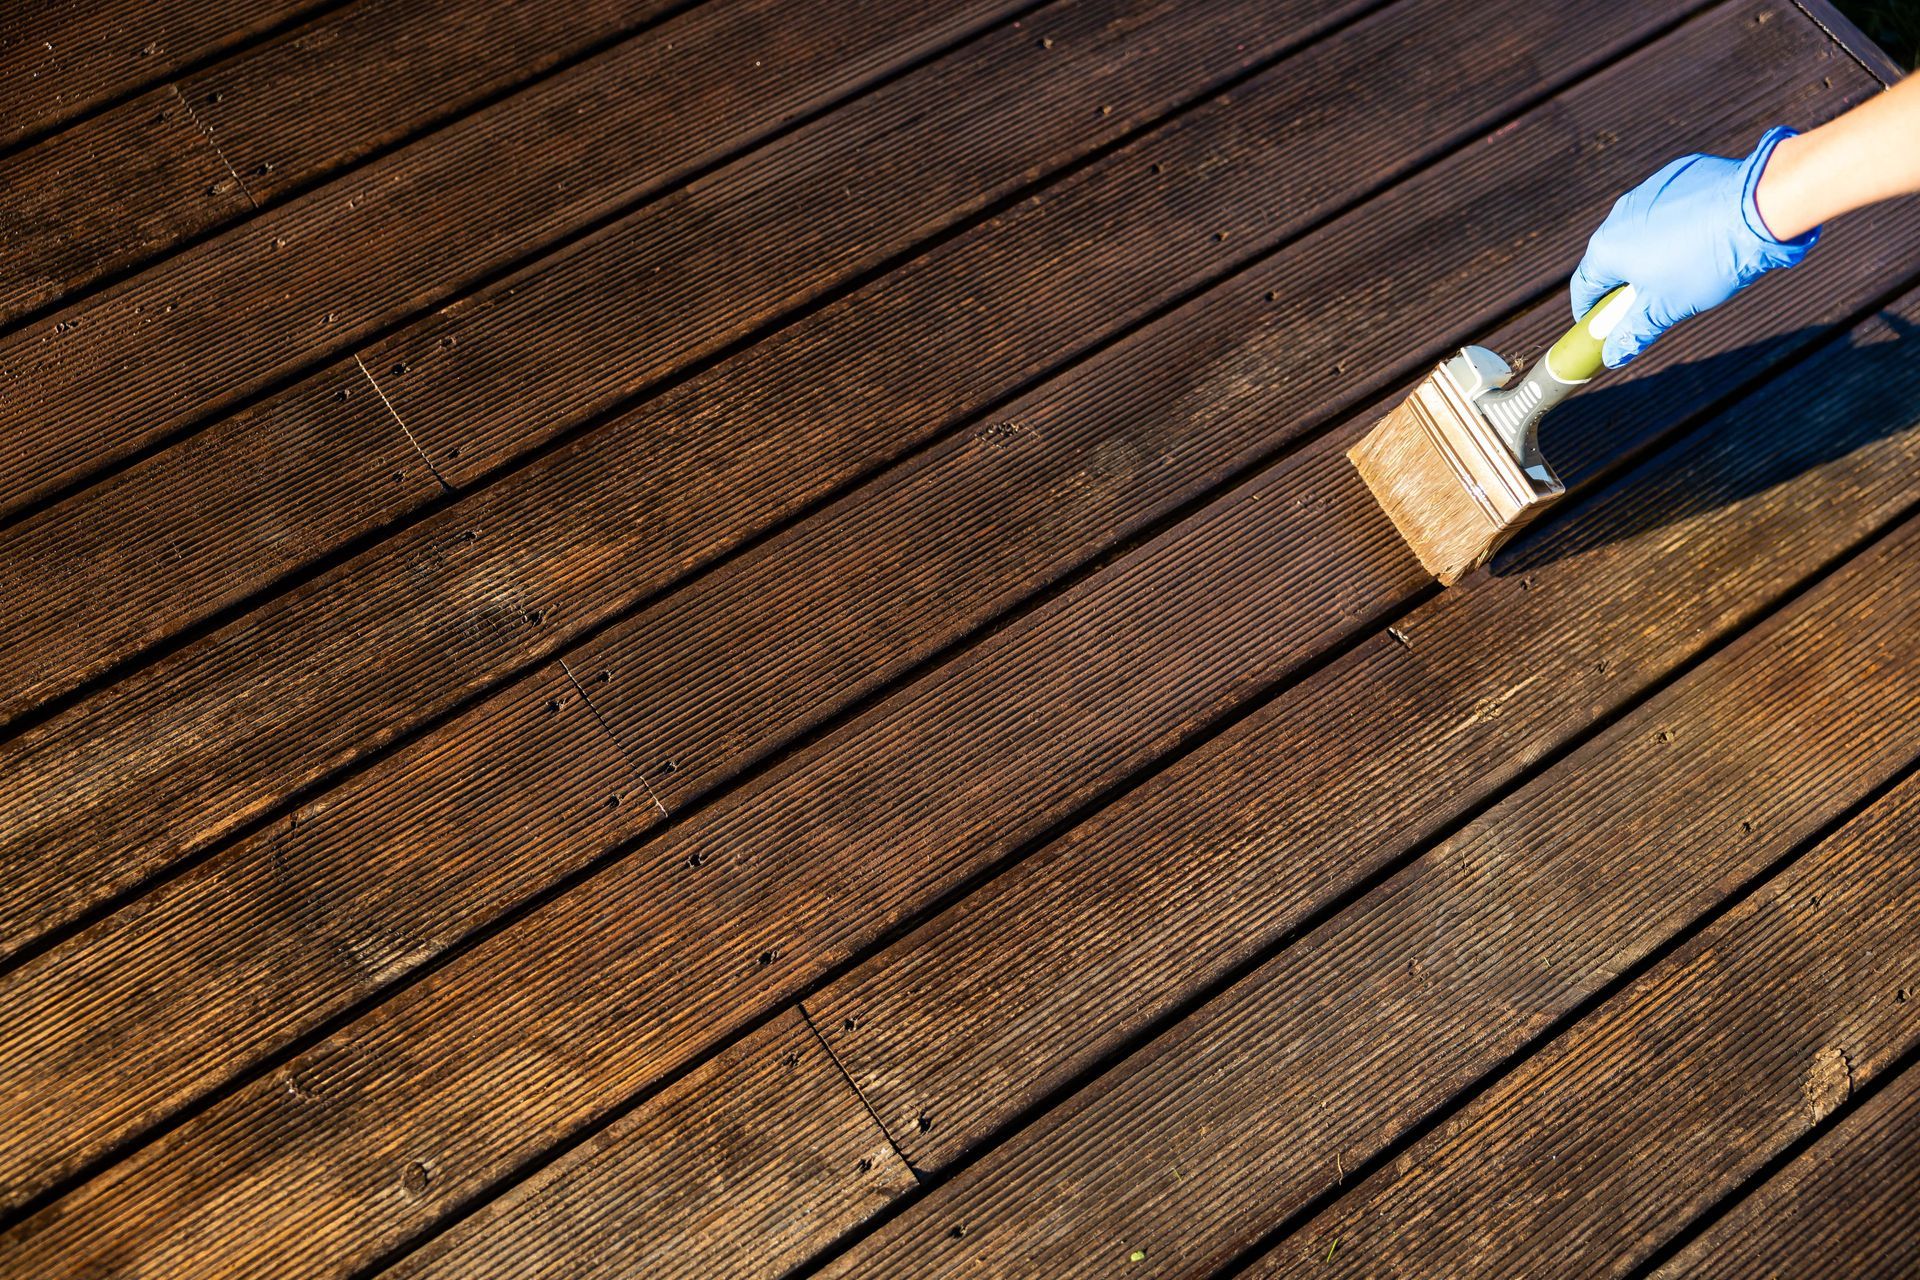
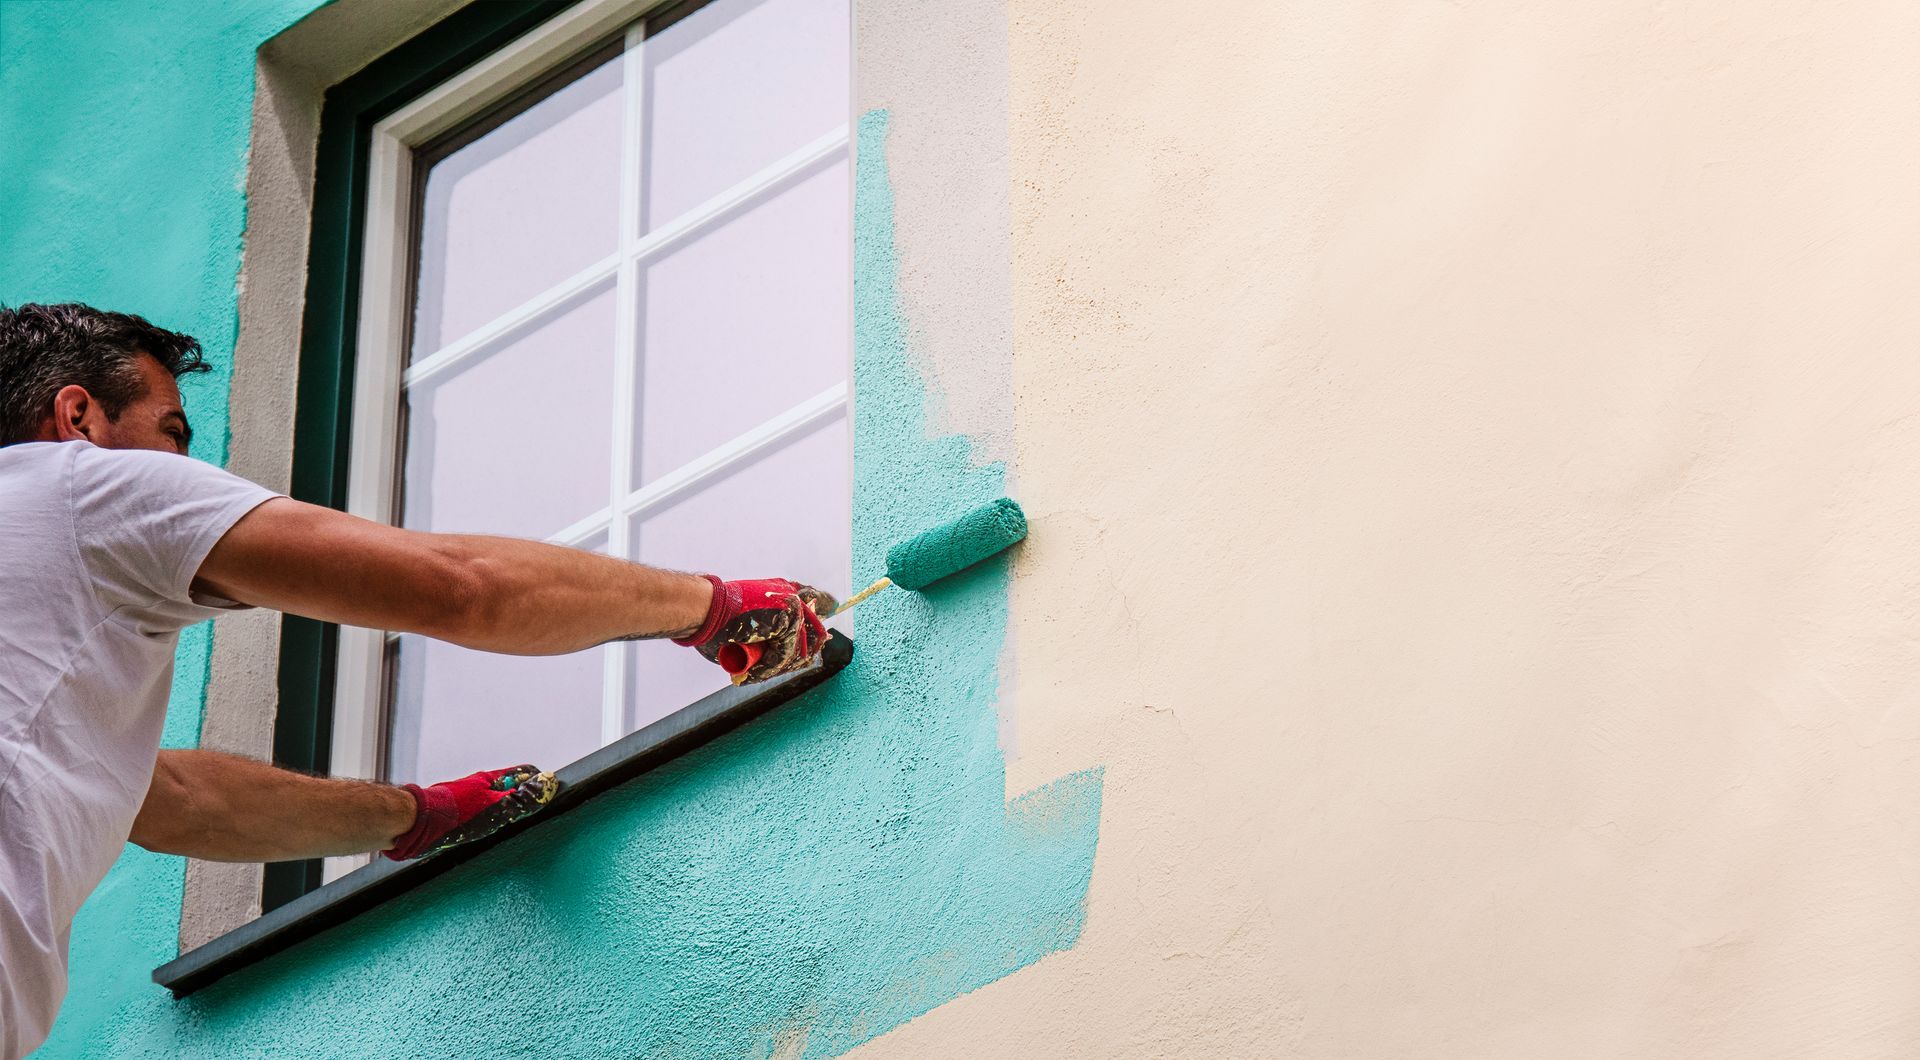
Start with a Primer
Apply a good quality primer to
only
the area you’re touching up
.
Allow the primer to dry before applying the paint.
The use of a primer helps disguise the touch-up. Primer also helps the paint adhere to the touch-up spot and increases the longevity of the paint job.
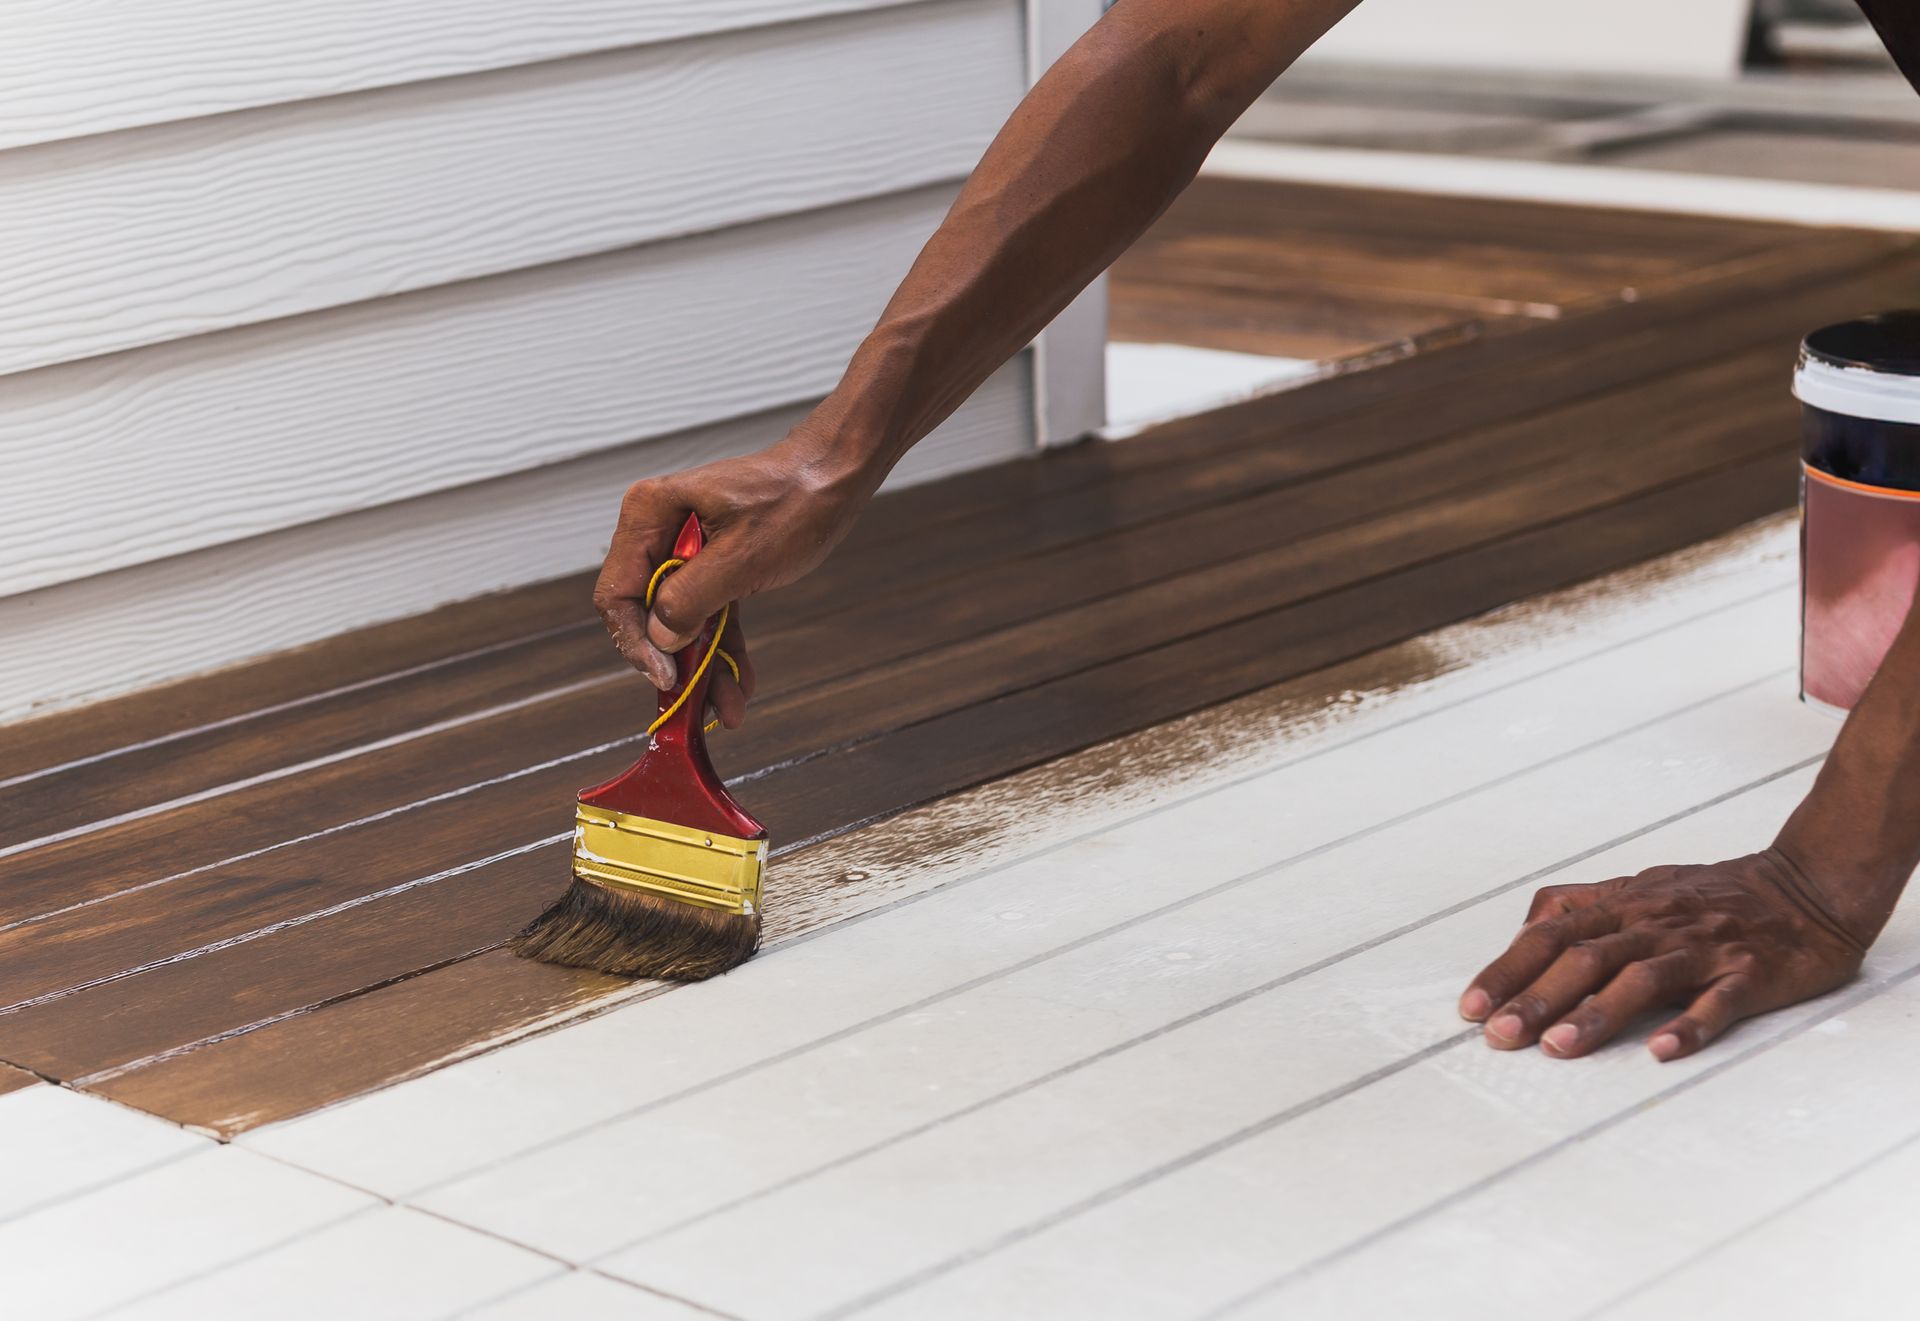
Use the Same Paint
When you use the same paint as the original paint job, you’ll achieve consistency and a barely-there touch-up spot.
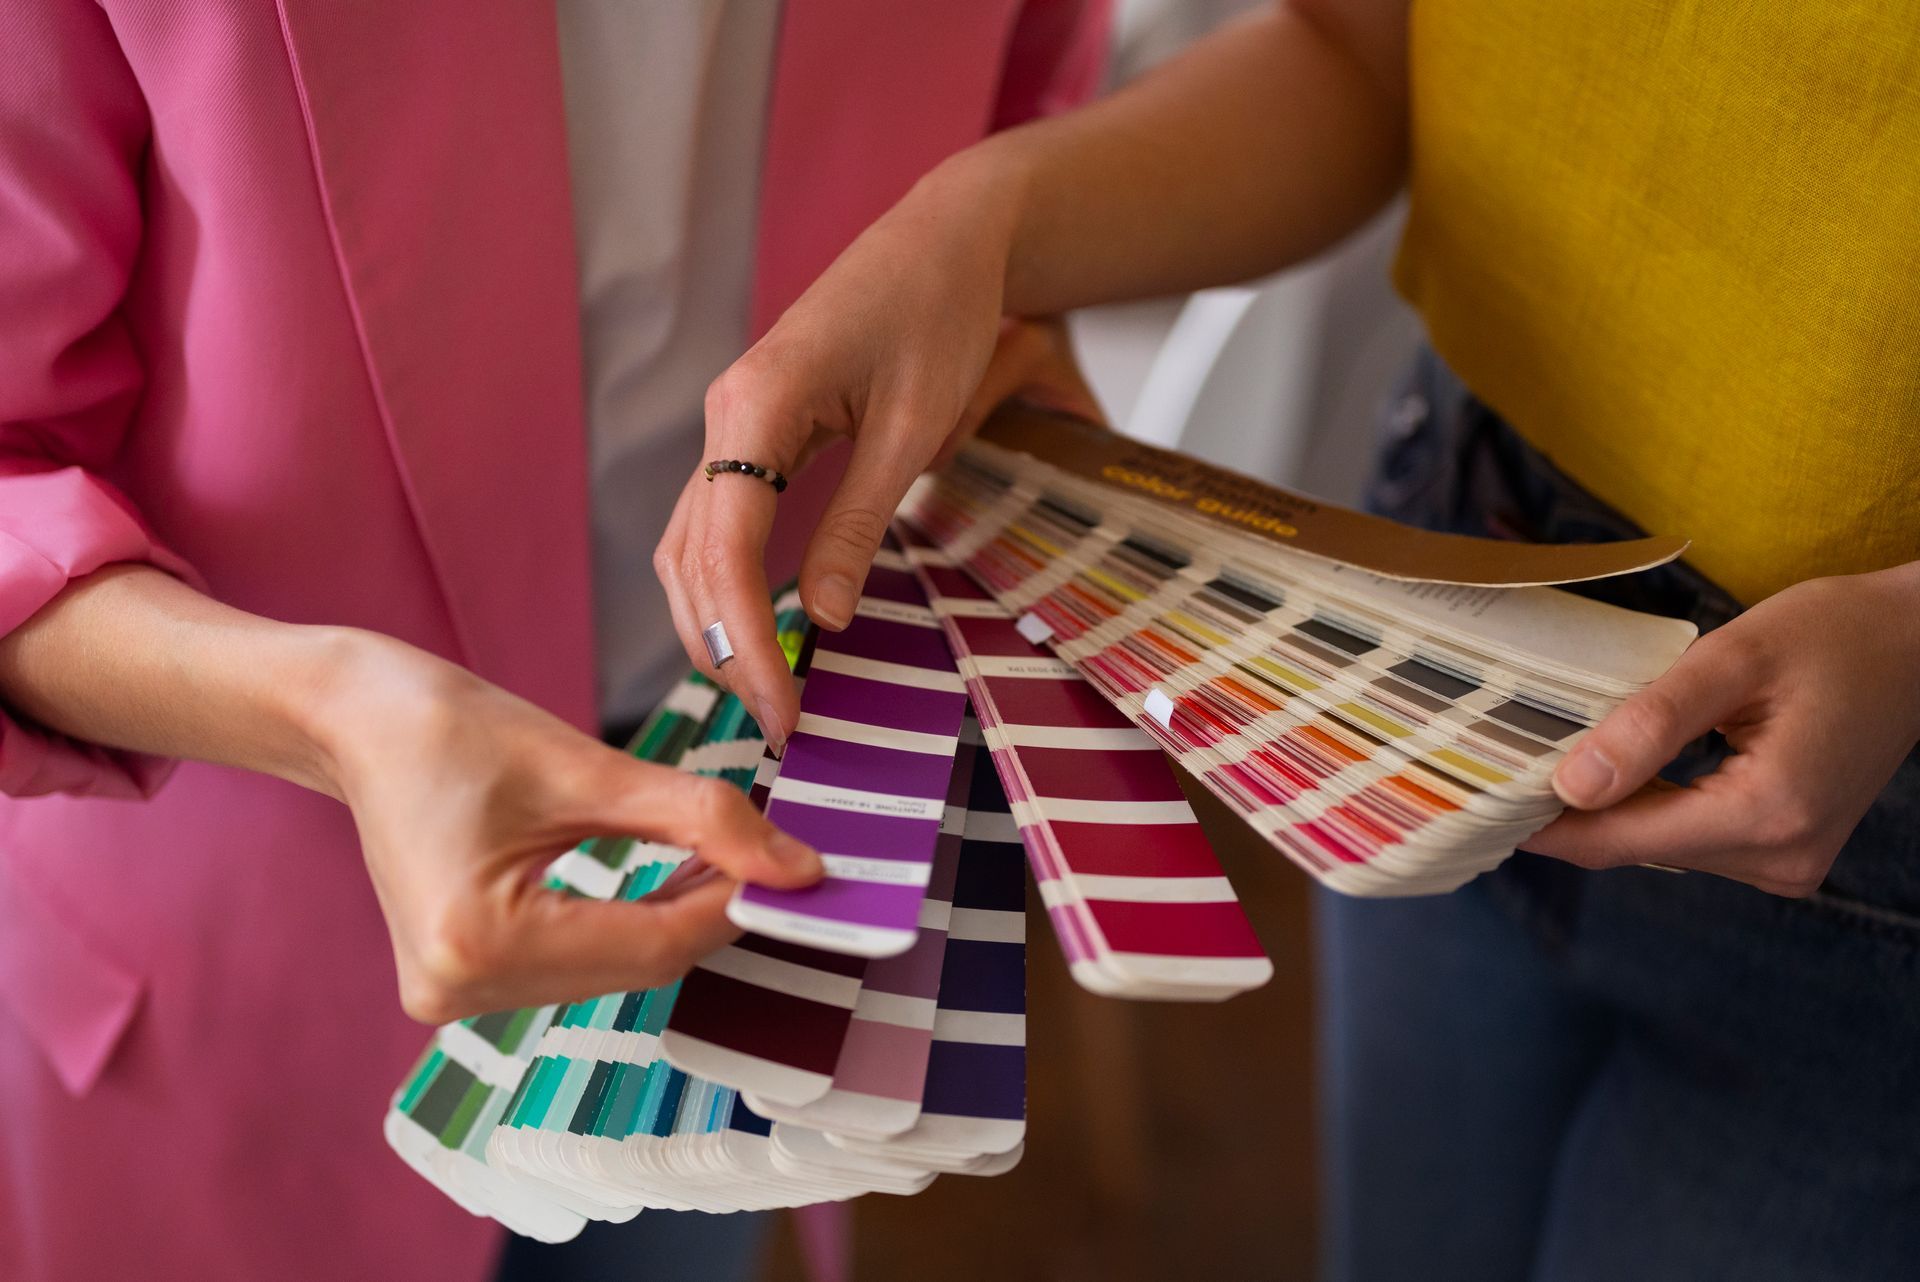
Using a paint color that
appears
similar to the original paint color will look very different once on the wall. Paint manufacturers use varying compounds in their paint formulas to achieve gloss levels. So you might end up having an eggshell wall with a high-gloss touch-up spot!
Paint colors are specific and surprisingly technical. All paint colors usually require a machine to mix the exact measurements of its base colors.
You may run into a snag if you’ve run out of the original paint color or if the manufacturer doesn’t make the original anymore. The good news is many sophisticated manufacturers like Benjamin Moore can analyze a paint chip and replicate your desired color.
Need Painting Advice?
Unsure if your touch-up requires the expertise of a
painting company
? Just need pointers for that long-put-off touch-up job? Your Boulder-based team at Jacobsen Brothers Painting has you covered!
Call us at
(303) 449-3239
or visit our
contact page
.
Let’s get the job done!
Share This Blog